Video Wall Mounts
Whether your facility is a medical office, dental practice, hospital, or clinic, there is the right size wall mount system for your specific needs. You will find an enormous selection of video wall mount systems that are perfect for many purposes, from retail kiosks, video walls, and single monitor displays.
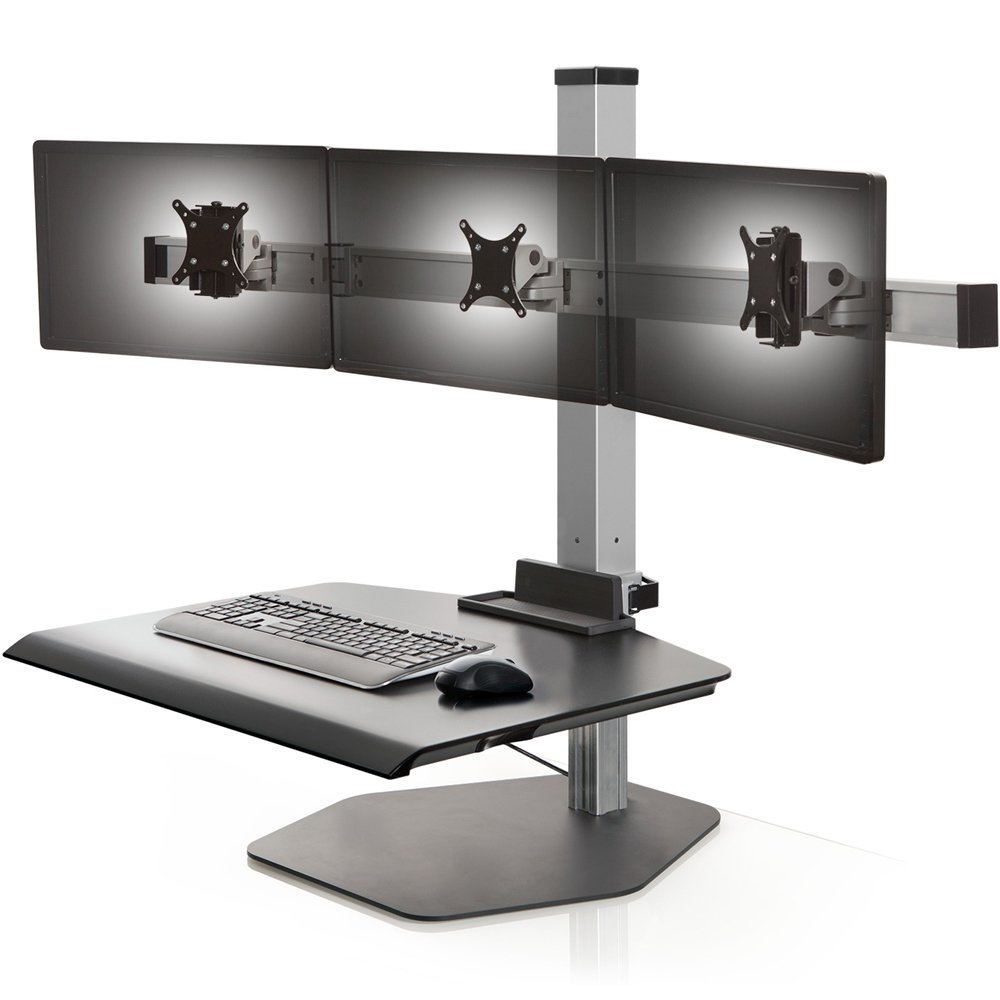
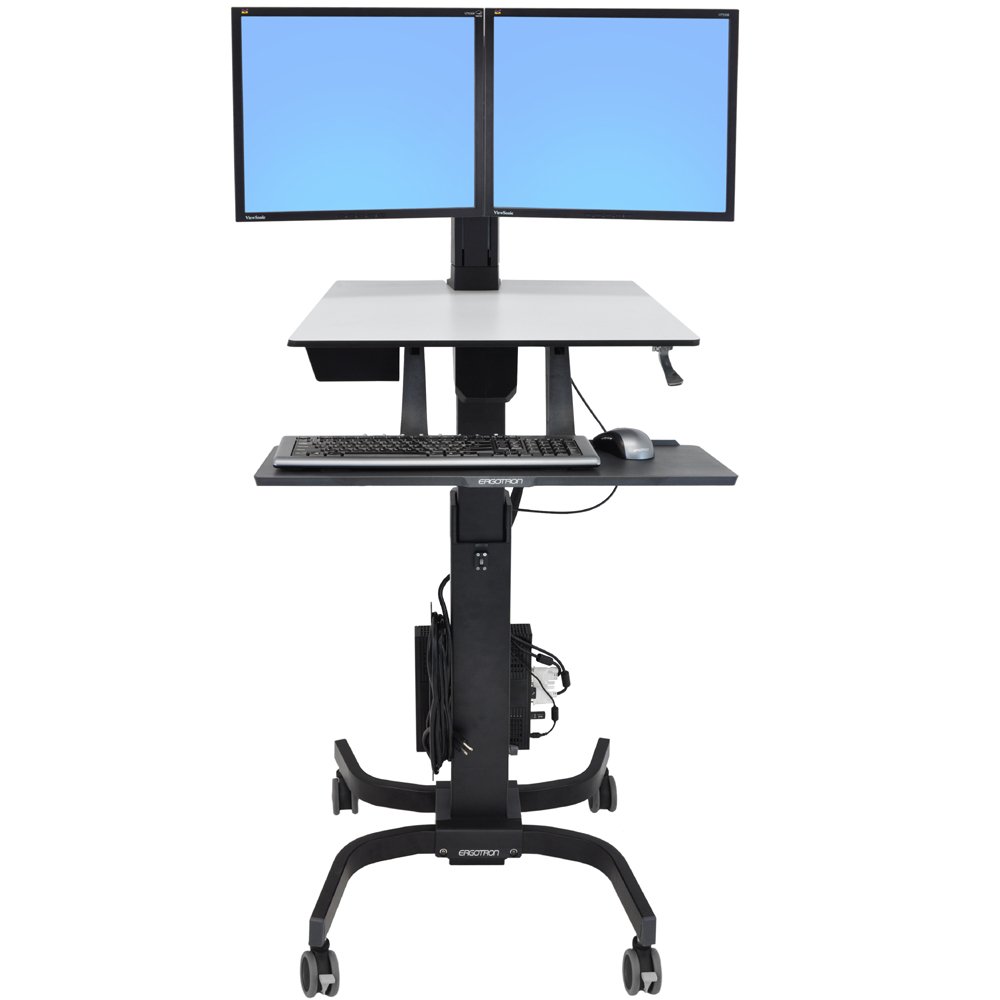
Our video wall mount systems includes solutions for single computer flat-screen monitors, to dual, triple, and quad-monitor displays. You will find wall mount solutions that can securely display oversize monitors up to 73”, and systems that can host up to 4 LCD, LED, and plasma monitors. You can also find sit-to-stand wall mount solutions that host a monitor, keyboard, and mouse, and allows the user to easily adjust the height and position of the arm to accommodate sitting and standing postures.
We feature a wide inventory of articulating wall-mount monitor arms that are easy to install and can offer incredible flexibility when configuring to any workspace. We also offer the combo LCD and keyboard tray wall-mount arms. These amazing products can host a keyboard, mouse, and computer monitor up to 20” while allowing the user to easily adjust the height and distance to create a healthy ergonomic workspace.
ErgoDirect.com understands the complexity of a video mounting project. We offer a huge variety of adaptor plates, all VESA compliant, to enable a perfect fit for your specific equipment and facility specifications. You can also find extension arms and adaptors for video monitor arms that allow you to configure many wall mount systems to your specific needs. Our representatives are familiar with our products and are happy to help and guide you in finding the perfect video wall mount solution for your project. Please do not hesitate to ask us for assistance.
Peerless Video Wall Mount Honored with NEC Best of InfoComm Award
June 24, 2011 - the Peerless DS-VW765 full service video wall mount, a Peerless AV solution designed to expedite the installtion of video walls, earned the NEC Best of InfoComm Award for the best professional AV product or service at last week's InfoComm 2011 conference. The modular style mount saves time by enabling multiple 40" and 65" flat panel displays to be precisely aligned in any video wall configuration without measuring, and quickly serviced without dismantling the entire wall. The Peerless DS-VW765 mount system reduces video wall installation time by 60%. Designed to support any display configuration from 2x2 to 3x2, 4x4 and beyond, the solution features:
- Wall plate spacers customized to the dimensions of specific digital display models, ensuring perfect no-ap spacing alignment between display units.
- Eight toolless micro adjustment points between displays, utilizing quick turn adjustment knobs that save time and facilitate proper placement.
- A pull out /prop open mechanism on each mount that allows any display in the matrix to be accessed individually from either the top or bottom for servicing.
Fusion Video Wall Solutions: Video Wall Mounting
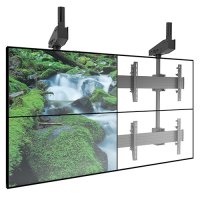
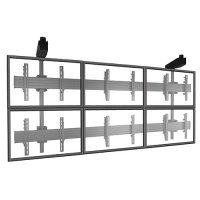
Easily configure dynamic flat panel video wall solutions up to 3 screens tall with Chief's Fusion mounting kits. Fusion is a one-of-a-kind flat panel display mounting system that solves the toughest installation challenges. When paired with a video wall application, Fusion provides unbeatable installation features to save time and money.
Chief Video Walls with Fusion Pull-Out Mounts
The new FUSION Series Pull-Out mounts extend 7” (178 mm) for easy cable access and servicing in hard-to-reach installations - even on the centermost screen of a video wall matrix. Inspired by installer feedback, the mounts include a variety of features to make installation and maintenance of multi-screen configurations a breeze. Ideal for 2 x 2 video walls or larger, up to 47” screen sizes for M-series, and 63” screens for L-series.
Take control of your installation with FUSION mounts. These universal, low-profile mounts are engineered for speed of installation and usability. From a single TV to a video wall matrix for digital signage, FUSION mounts are the perfect solution for many applications.
Tips for Installing a Video Wall
The digital display market is booming. Multiple displays aren’t just cropping up in airports. Corporate boardrooms, home theaters and IT control rooms with cutting edge digital video walls are all the rage. Video walls are composed of multiple flat panel displays mounted edge-to-edge to create one large display. A video wall can present a lot of different content at once on separate screens, or display one large image for maximum impact.
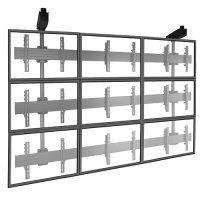
Not long ago displays like this took many days of planning and professional installation. New installer-friendly mounting solutions, like Chief’s Fusion™ Series Pull-Out Mounts, have made it simple to install a multi-screen video wall. Once you have decided where you want to place your video wall, follow this guide to create a 3x3 video wall.
Fusion Series Pull-Out Mounts are available for landscape and portrait installations of displays ranging from 26–63". Each model extends 7" (178 mm) to provide easy access to the back of each individual display for maintenance. Additional features like post-installation lateral and vertical shift and plumb adjustment allow you to get the screens as close together and as level as possible for a flawless, professional look.
Once you’ve decided where you would like your video wall placed, it’s time to start mounting.
- Attach the mounting brackets to the back of each screen.
- Install the bottom left corner mount to the wall following instructions in the included manual.
The key to the next part of the installation is to get the mounts as close to one screen width apart as possible. The mounts should be driven into wall studs; however, with Chief Fusion Mounts the wall stud centers do not have to correspond exactly with the final placement of the screens. The wall bracket features Centerless™ post-installation lateral shift, allowing you to slide your screen up to 8" (203 mm) to the left or right for a total of 16" (406 mm) of movement, so you can fine-tune your placement while still hitting the studs.
- Install the bottom middle mount as close as possible to one full screen width to the right of the first mount.
- Install the bottom right mount as close as possible to one full screen width to the right of the middle mount.
Now that you have one full row of brackets on the wall, it’s time to move up a row. Install the next two rows of mounts one full screen height up from the previous row.
- Following the installation manual, attach each screen to its mount, beginning with the bottom row and work your way up.
- Connect the cables by pulling the mount straight out to access the necessary connections. Once the cables are in place, simply push the screens back in.
- Adjust as needed.
Adjust the height and leveling after the mount is in place using ControlZone™. Post-installation height adjustment ensures that you can have a seamless look with no gaps between rows. Plumb adjustments can help hide flaws if the wall isn’t perfectly smooth. For security, Fusion Pull-Out Mounts make it easy to integrate security by attaching a padlock to protect the screens against theft.
Once you are done adjusting, the result will be a perfectly seamless 3x3 video wall display.


